
Gateway setup
Start using the AI gateway with a 2-lines of code.
Create your Velvet account here to get started. Navigate to the setup tab.
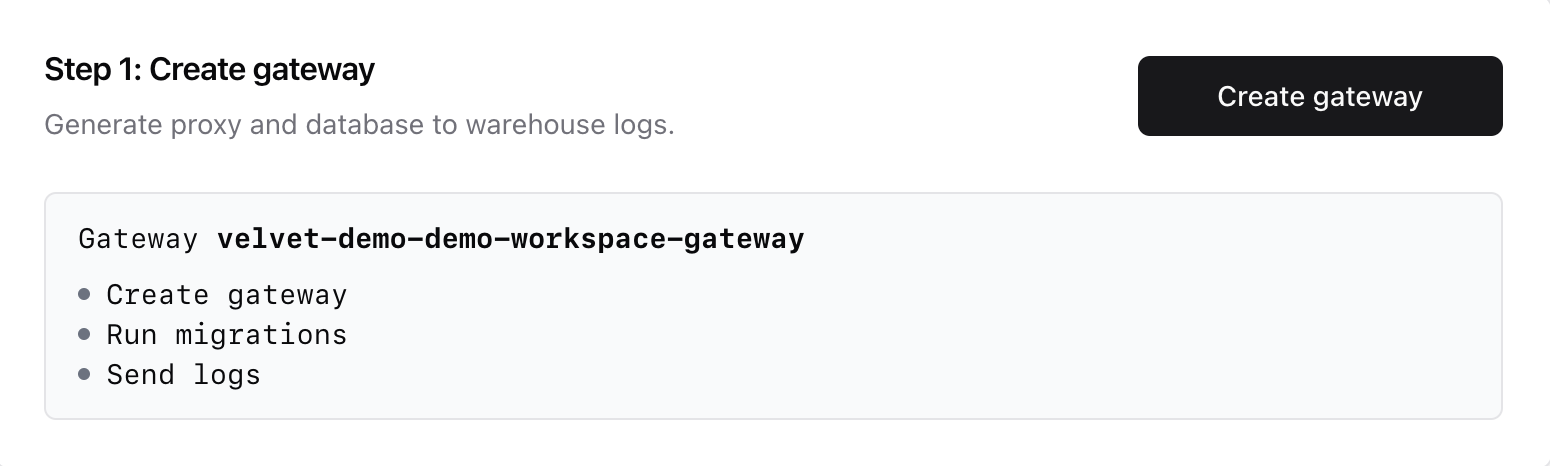
Create hosted database and proxy
Add a Velvet hosted database to your workspace. This is where your logs will be warehoused.
If you prefer to warehouse logs to your own external PostgreSQL database, you can request access here. Switch to an external database any time. Learn more →
Generate API keys
Velvet requires a velvet-auth header. This authorizes your application with the gateway.
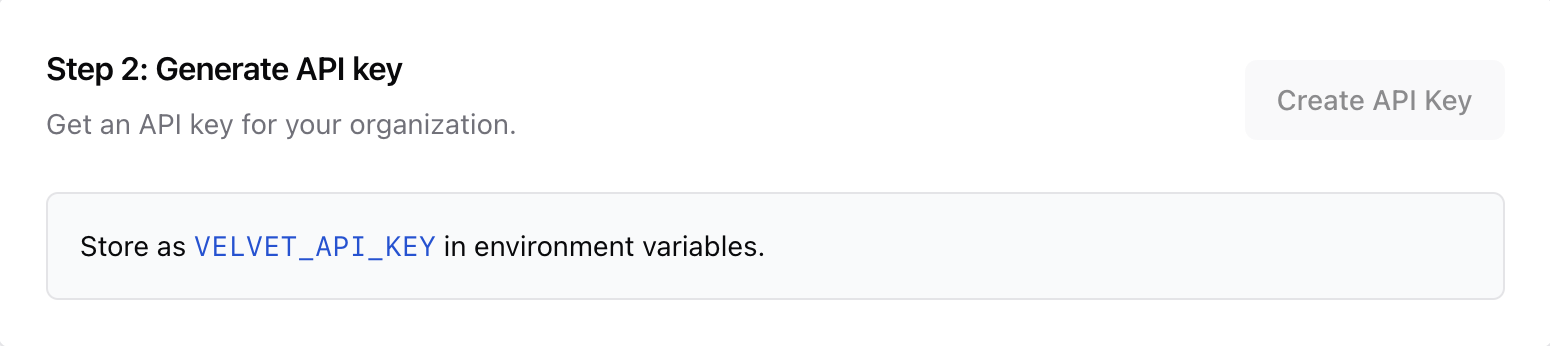
Store the API Key as VELVET_API_KEY in your environment variables.
Update 2 lines of code
See an example for OpenAI and Javascript below. The Velvet domain is gateway.usevelvet.com.
- Add the Velvet baseURL
- Add the Velvet API key
We support OpenAI and Anthropic endpoints, and you can use any programming language.
import OpenAI from "openai";

const openai = new OpenAI({
  apiKey: process.env.OPENAI_API_KEY,
  baseURL: "https://gateway.usevelvet.com/api/openai/v1/",
  defaultHeaders: {
    "velvet-auth": process.env.VELVET_API_KEY,
  },
});
See example code snippets for each supported model provider:
Additional models (including self-hosted) are available on our paid plan.
Email [email protected] for support.
Summary
Once you complete these steps, you're ready to use the gateway.
- Add database
- Generate API keys
- Swap the base URL and add your API key
Email us at [email protected] for support.
Updated 3 months ago