
Calendly
Set up Calendly as a data source.
Collect real-time events from Calendly. You'll be able to query these events in the editor.
Add Calendly as a Velvet source
Create a new event type source in Velvet.
- Tap into a workspace in your Velvet dashboard
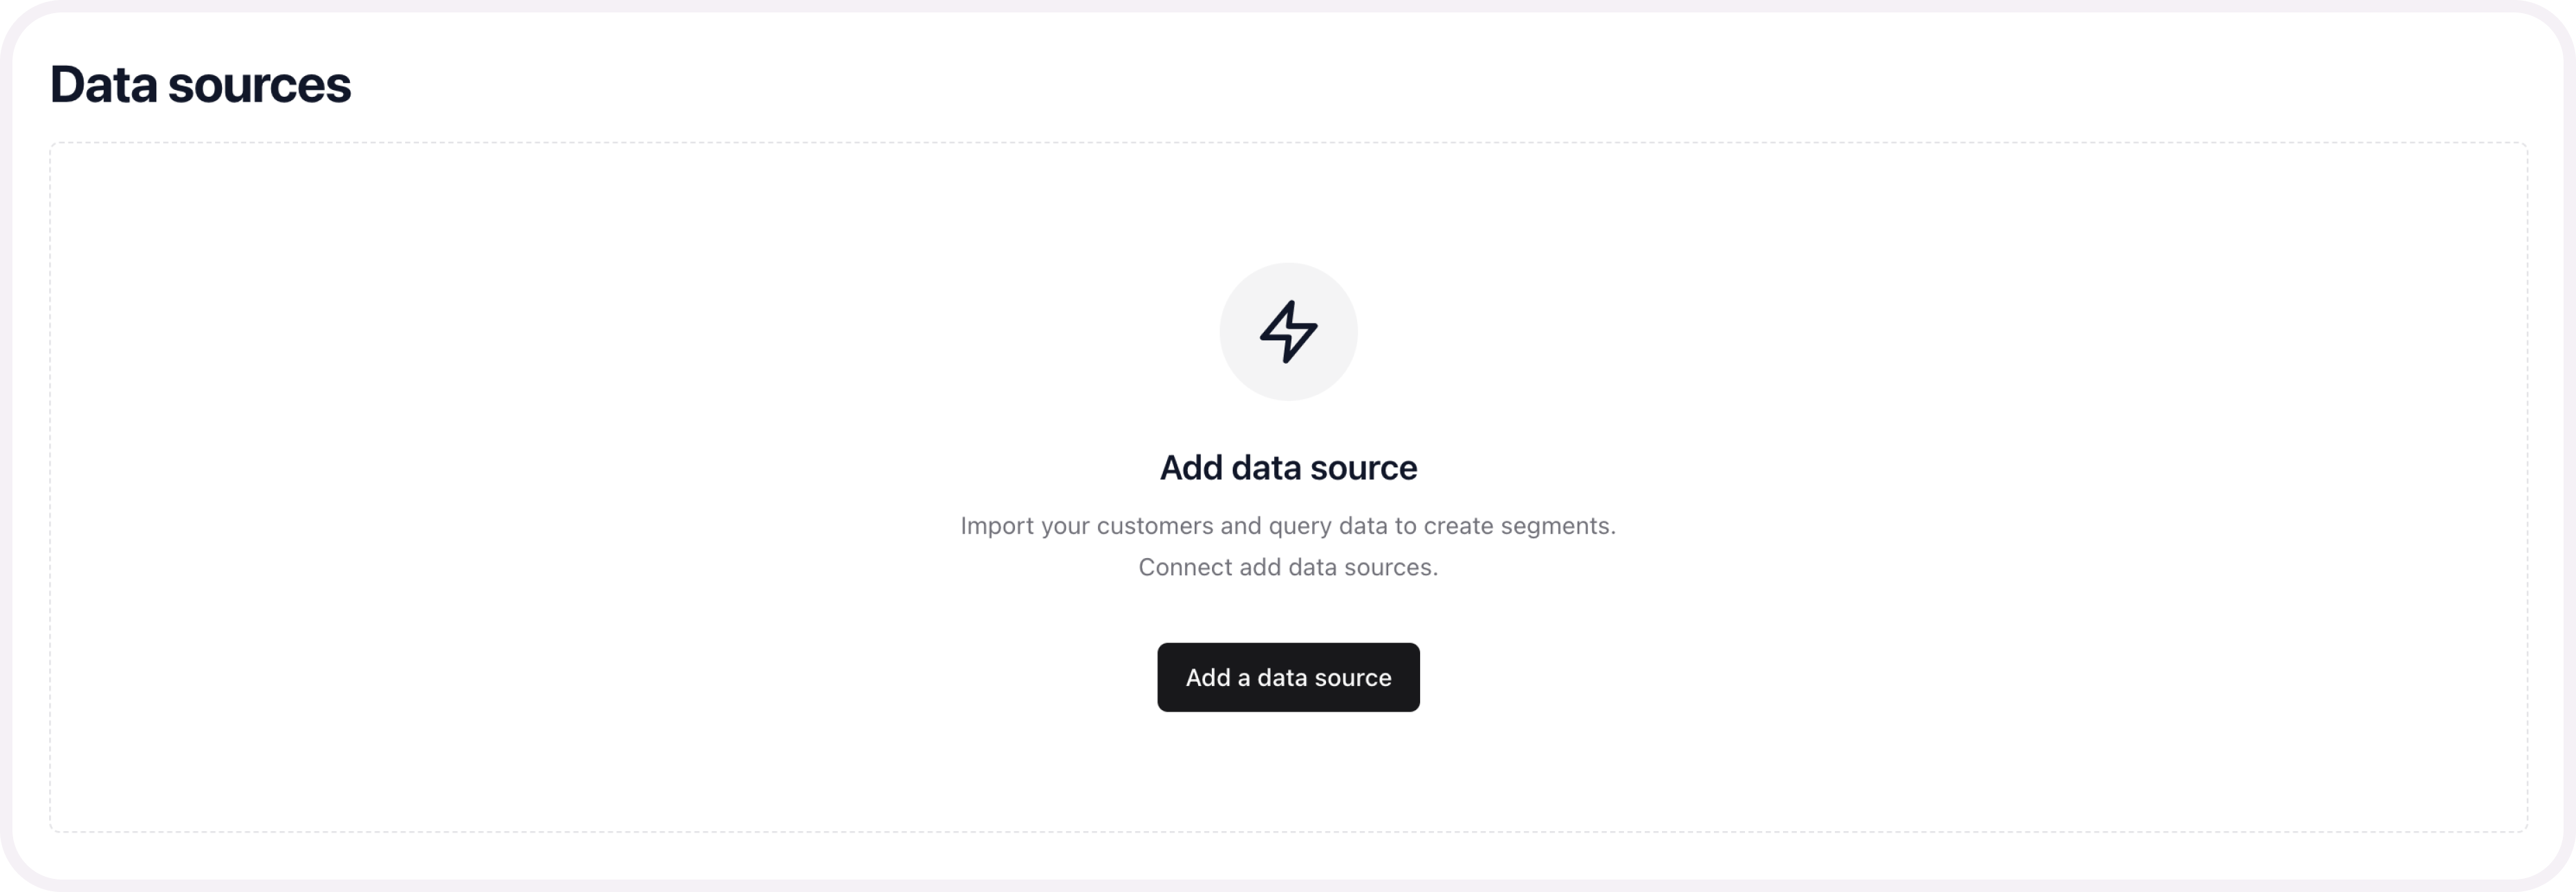
- Navigate to "Data sources"
- Tap "Add a data source"
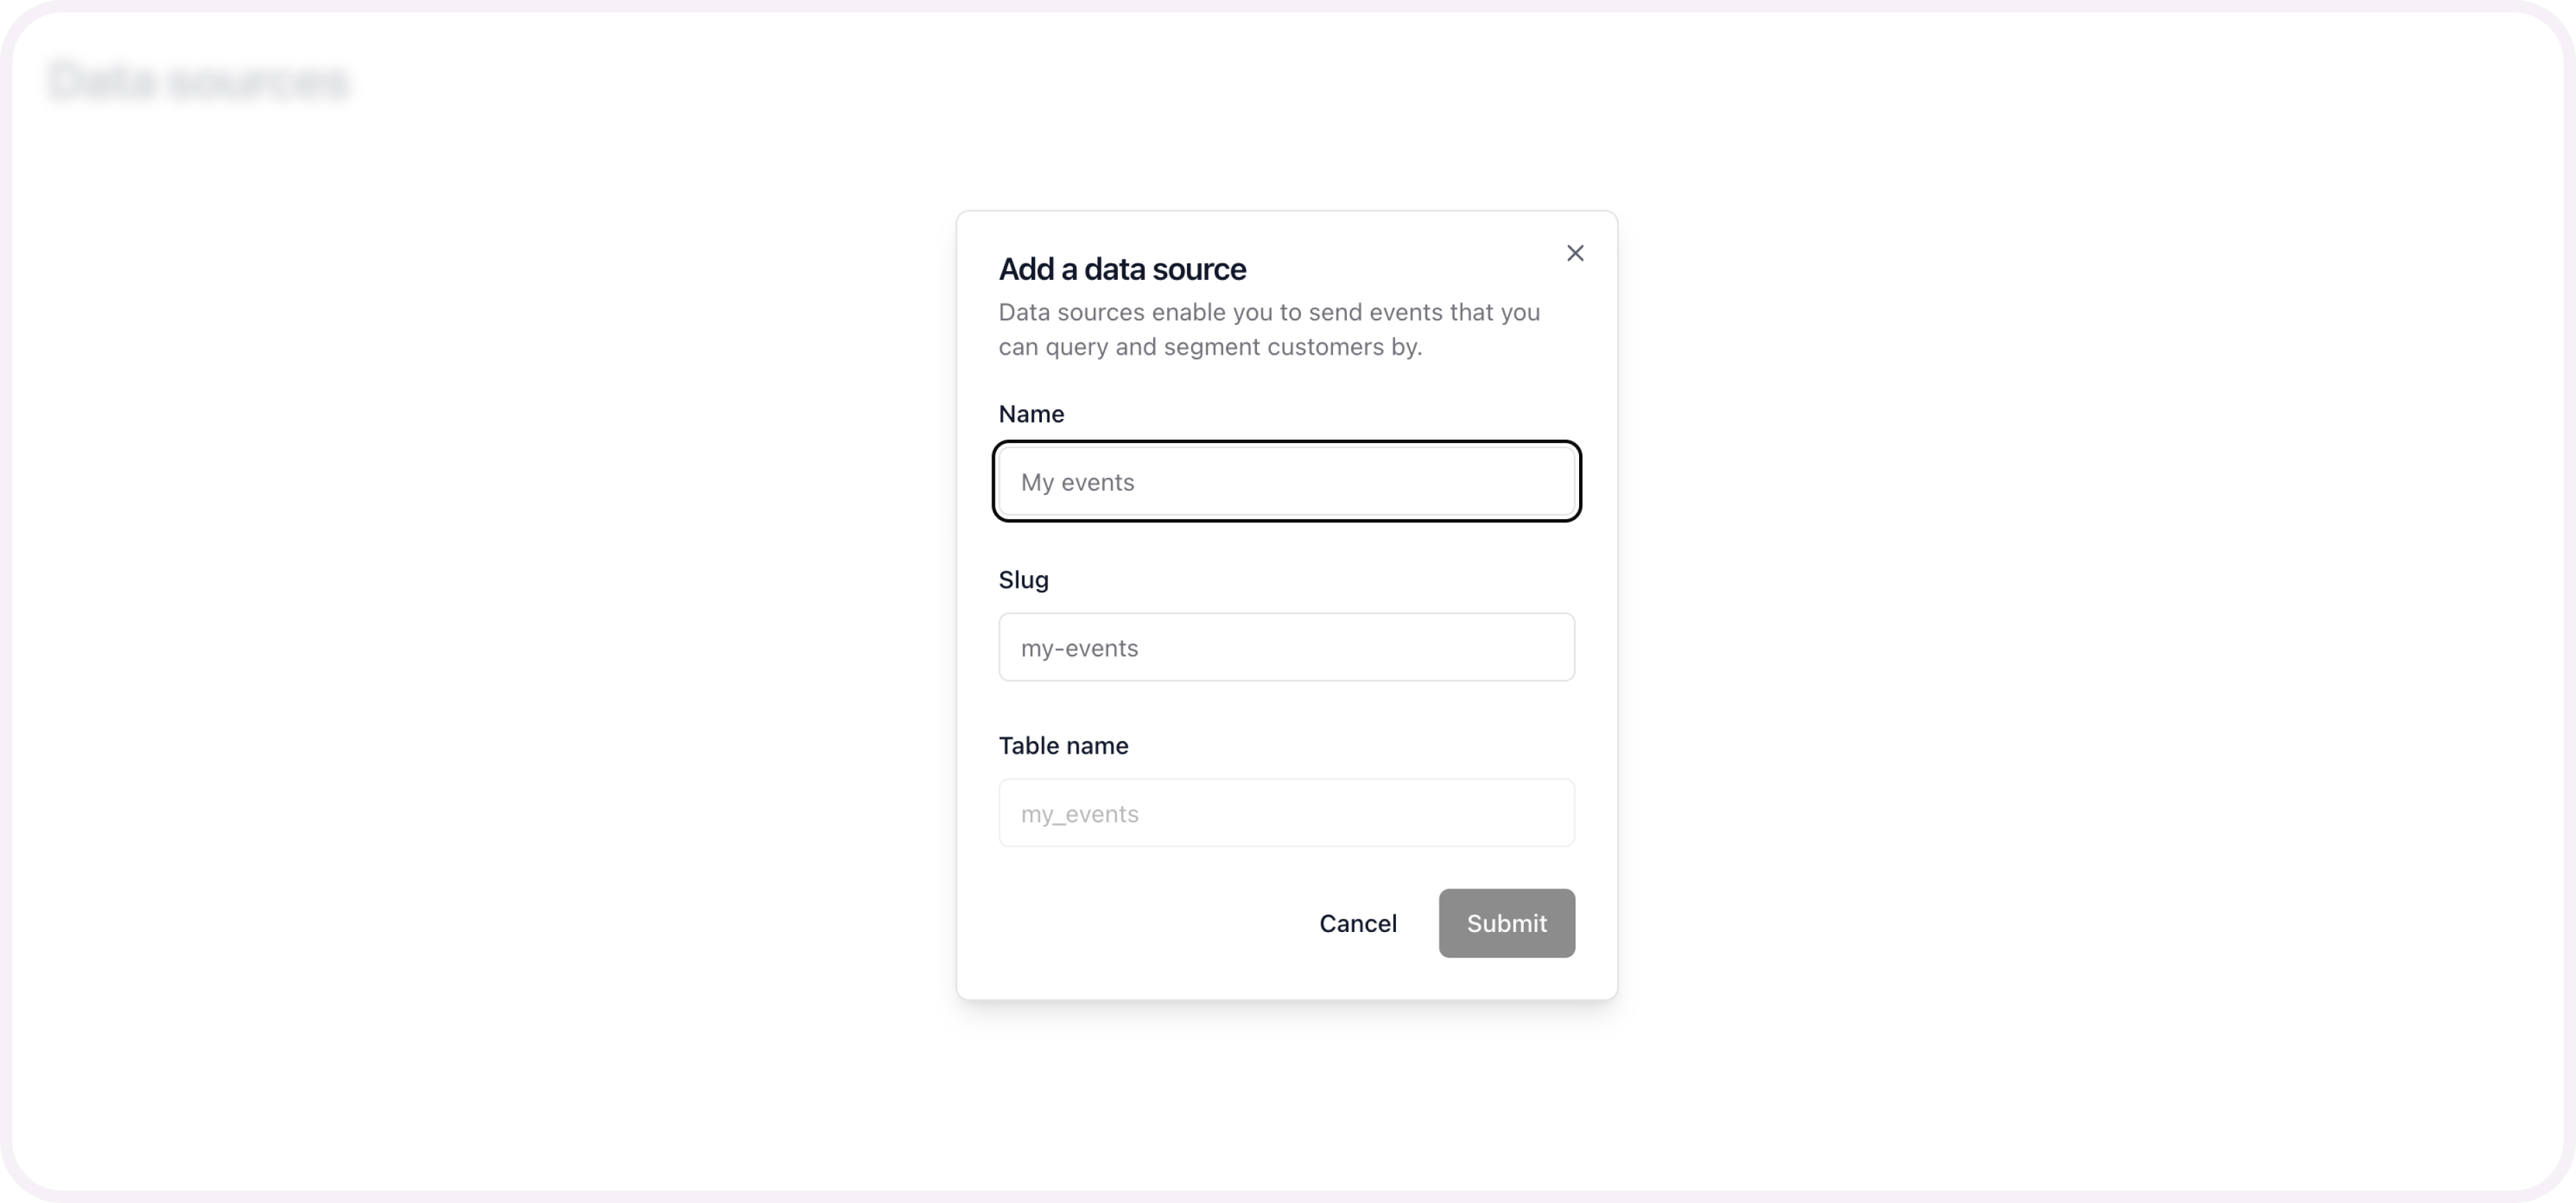
- Select an event type source. Name the source.
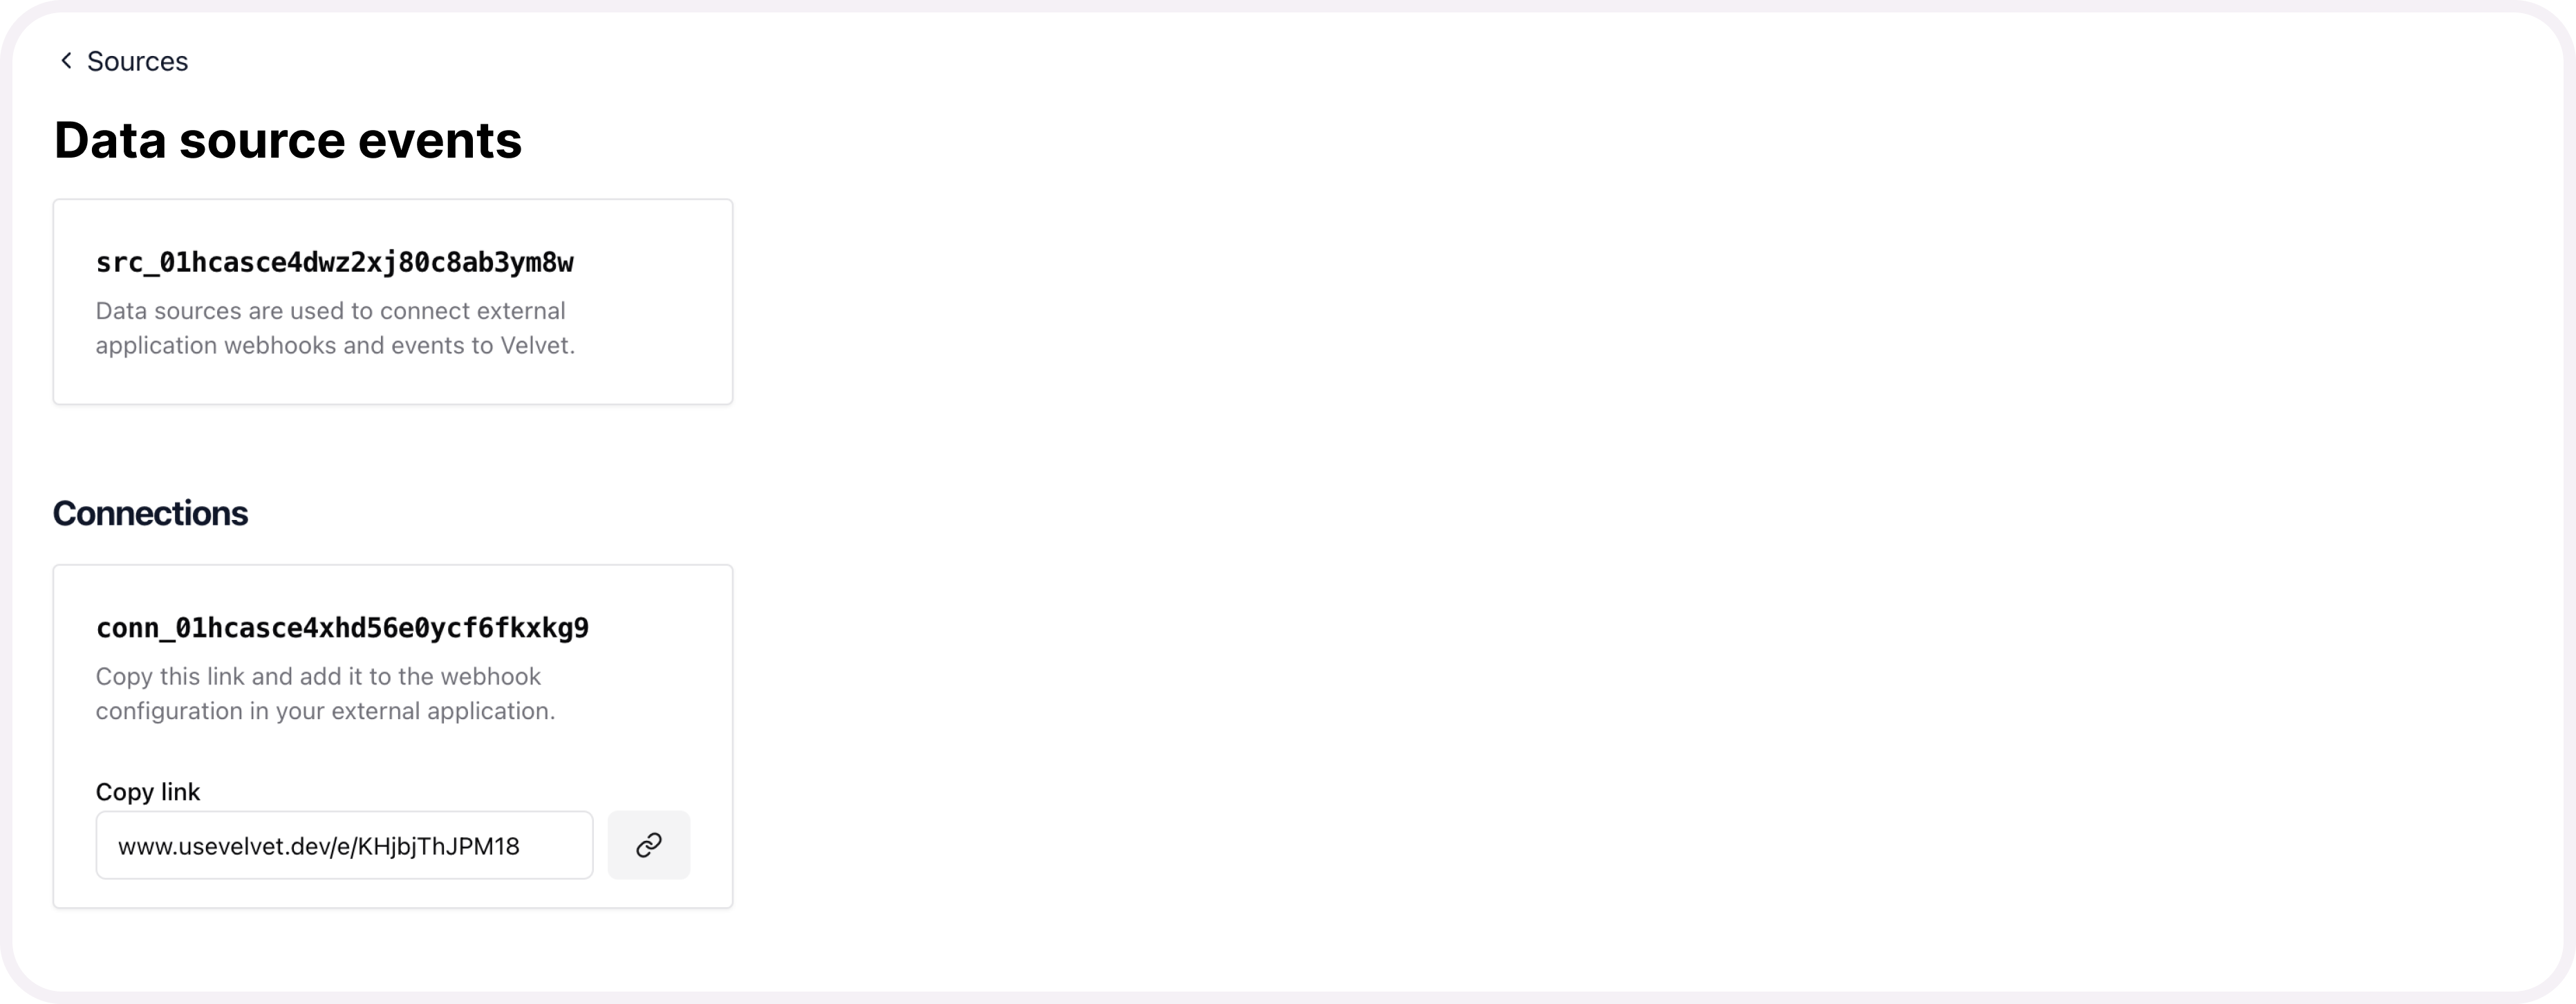
- Copy the webhook link
Send webhooks from Calendly
If you get stuck, read further docs from Calendly here.
- Use the Calendly API to generate a Personal Access Token (PAT) for authentication (if you do not already have one).
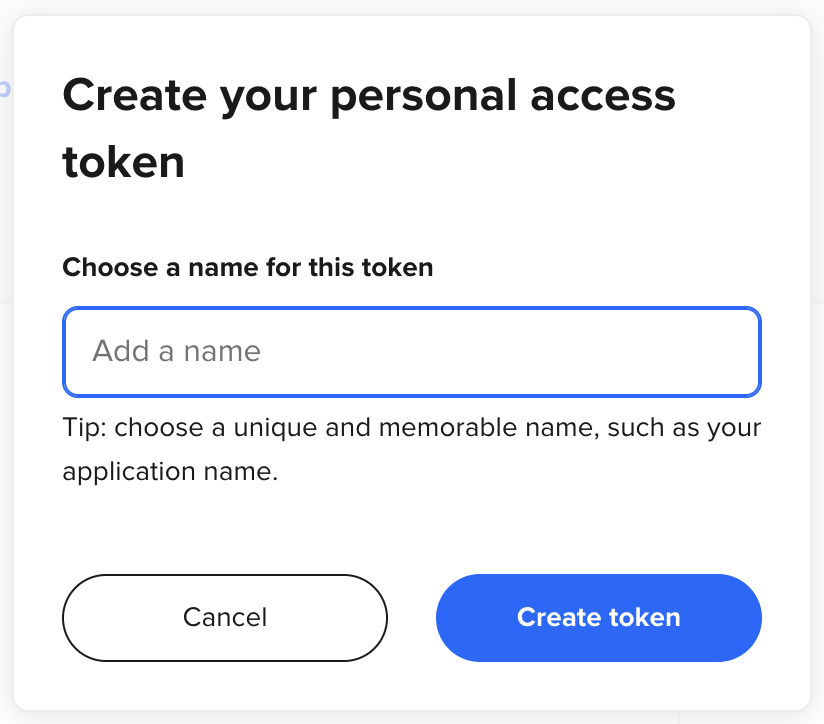
- Follow this link to create a PAT. Click “Get a token now”.

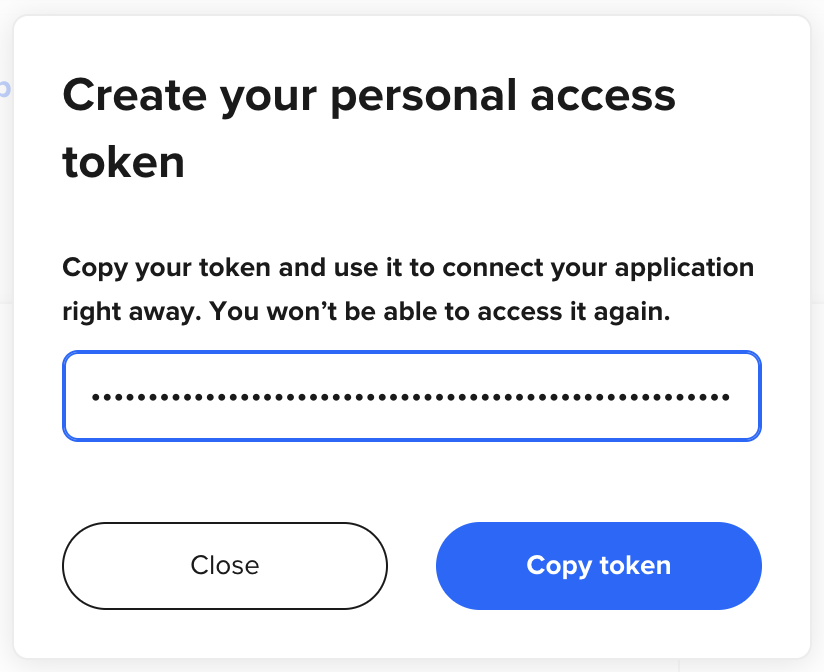
- Choose a name for this token and click “Create Token”.
- Copy token and store it securely as you will not be able to access it again.
- Pass your personal access token in the Authorization header of your requests.
- Make a call to the POST method via Postman or Insomnia. (Endpoint: https://api.calendly.com**/webhook_subscriptions)
- Populate the body:
- url: Paste the webhook URL you copied earlier.
- events: Specify the user events to subscribe to.
- organization: The unique reference to the organization that the webhook will be tied to.
- user: The unique reference to the user that the webhook will be tied to.
- scope: Indicates if the webhook subscription scope will be "organization" or "user”.
{
  "url": "string<uri>",
  "events": [
    "string",
    "string"
  ],
  "organization": "string<uri>",
  "user": "string<uri>",
  "scope": "string",
}
From this point on, we’ll create a queue of events from Calendly. You can query them in your Velvet workspace.
Migrate historical data
If you have pre-existing data, we can set up a one-time or recurring data migration.
Email [email protected] to start a data migration process. Include your Velvet account email, which data source you want migrated, and any other relevant information.
Updated 3 months ago